Pickle-Brined Fried Chicken
So I made this once, and my friend Jess made it once as well. We compared some notes on the process, and in the end, I am adapting the recipe just slightly. Here's a statement I never thought I would make: go with chicken breast instead of thighs. I think this is an issue of expectation - when I bit into the amazing fried chicken, I wanted it to be like a chicken tender - juicy white meat. Don't get me wrong, it wasn't like sipping a diet coke that turns out to be an iced tea. But I think I like my boneless fried chicken to be white meat.

The brine is incredibly salty, not surprisingly, but it also had trouble fully dissolving during the process. Jess experienced the exact same issue. As such, I have reduced the amount of salt in the brine from 2/3 cup to 1/2.
The other thing I would change about this recipe is the batter. The trick here is to really press the chicken into the flour, producing wonderful ridges to make for a golden, delicious crisp. But I think the flour could benefit from a little extra something. I simply salted my flour, but in future incarnations I would consider adding some cayenne, some paprika, maybe even some crushed kettle chips or corn flakes. Let me know your suggestions below!
This recipe benefits from having an entire day to prep and cook. 3 hours of brine will very quickly eat up your weeknight. Jess and I happened upon the same trick - brine 3 hours on one night, remove form the brine and keep in the fridge, then cook whenever you're ready the next evening. Do not keep the chicken in the brine longer than 3 hours!

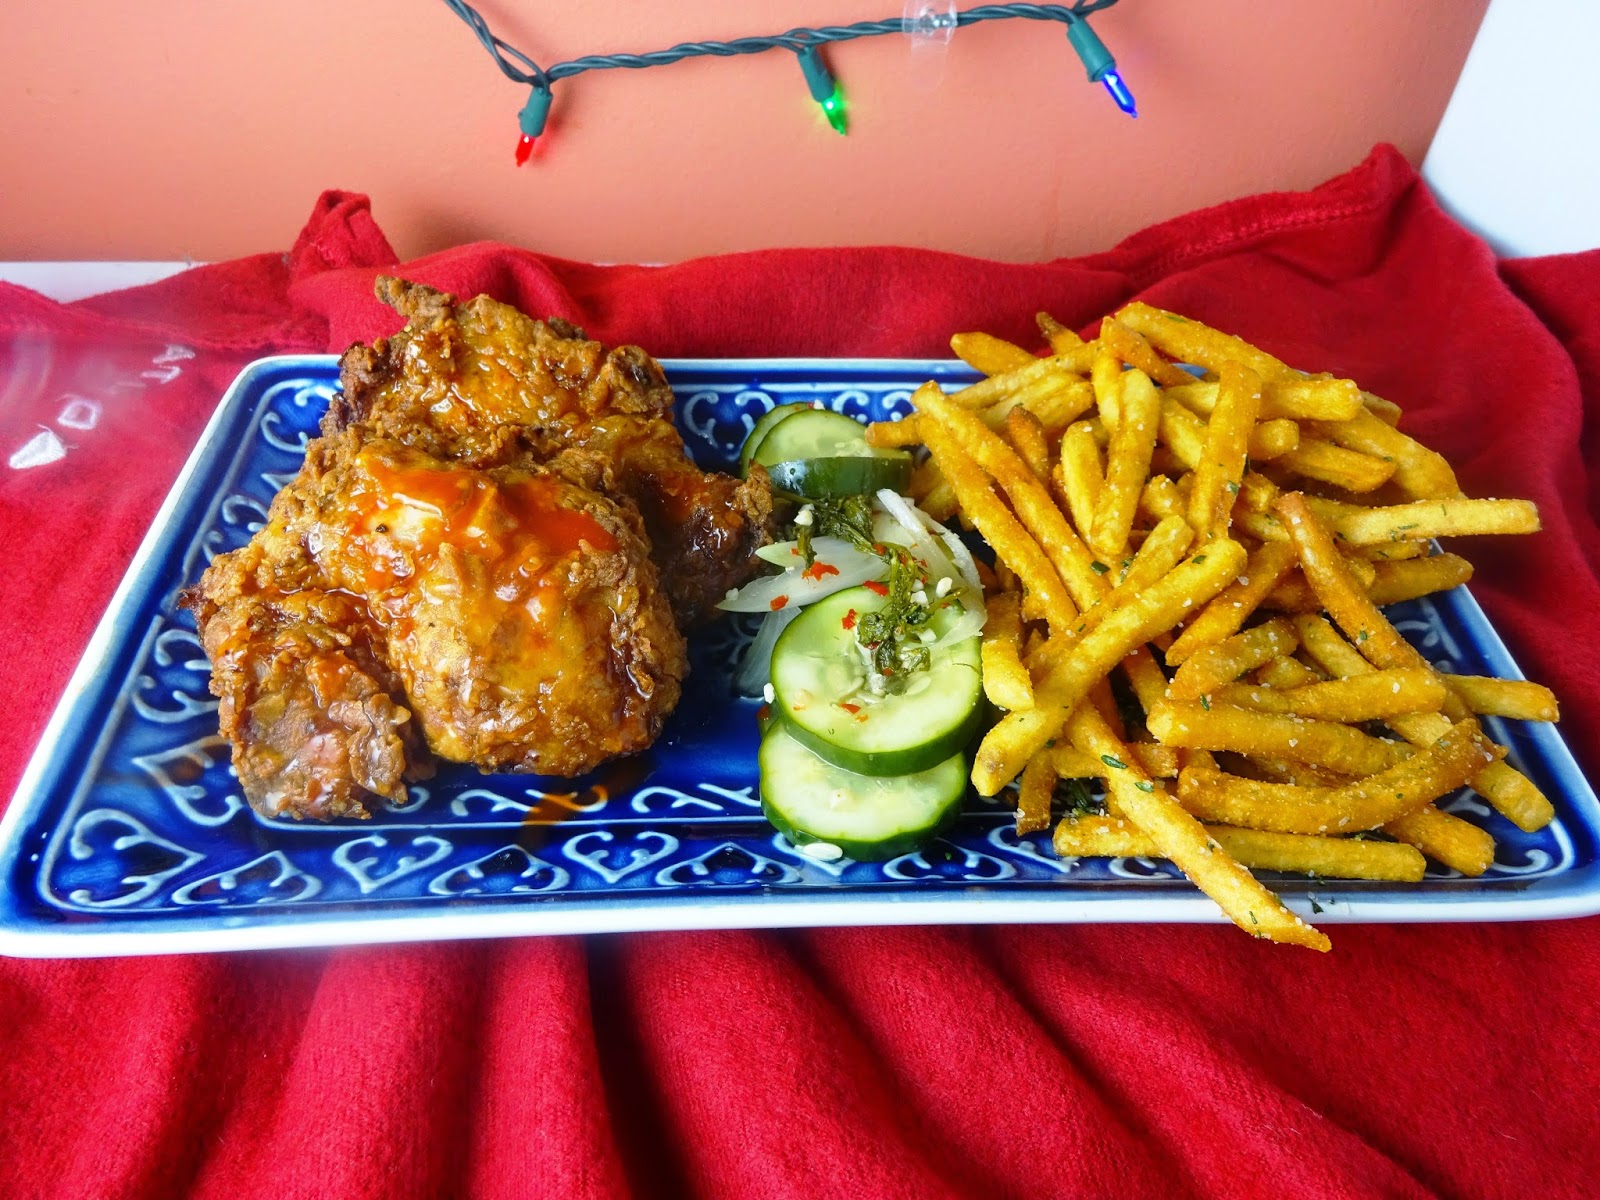
Finally, I followed the suggestion of Bon Appetit and finished the chicken with a drizzle of honey and some hot sauce. Feel free to be creative, and be sure to try the chicken on its own.
This will be my new go-to fried chicken method.
 |
| Toasting the seeds for the brine. They pop! |
Ingredients:
Brine
- 2 Tbs yellow mustard seeds
- 1.5 tsp. coriander seeds
- 1 cup apple cider vinegar
- 1/2 cup kosher salt
- 1/3 cup sugar
- 1/4 cup chopped fresh dill
- 4 cups water
Chicken
- 3 lbs boneless skinless chicken (breast tenders, whole breast cut into tenders, or thighs)
- vegetable oil for frying (enough to fill your cast iron pot about 1/3 full) [Note: or just buy a deep fryer already!]
- 2 cups buttermilk
- 2 cups all purpose flour, seasoned (salt, pepper, anything else you'd like)
- Honey, hot sauce, dippy sauce of your choice!
To Prepare:
- First off, finish your drink before you start digging into the chicken. Chicken hands and drinking alcohol may lead to gross.
- Now, let's make a brine! In a sauce pot, begin by heating the pan, dry, and adding your mustard and coriander seeds. Toast the seeds in the dry pot until the mustard seeds begin to pop.
- Once the seeds pop, add the vinegar, salt, and sugar. Bring the liquid to a boil, and stir to dissolve the salt and sugar, about 4 minutes (or more, in my experience, but BA says 4 minutes)
- When everything has dissolved, remove the pot from the heat. Stir in the dill and water, and then let the mixture cool to room temperature.
- Placve the chicken in a large bowl or ziplock bag. Pour the brine over the chicken. Cover the bowl or zip the lock, and place chicken in the fridge for 3 hours.

WARNING FROM PERSONAL EXPERIENCE: Don't be a dingus and spill this in your fridge ... - After 3 hours, remove the chicken from the brine, wiping off any dill or seeds. If you are cooking the chicken later, put it into a new ziplock or clean bowl, seal/cover, and place in the fridge until you are ready to cook.
- Time to batter that chicken! Get your frying oil to 350 degrees.
- In one large bowl, pour your buttermilk. In another, your flour and seasoning.

- Dip the chicken fully into the buttermilk. Let drip dry, then move over to the flour. Press the chicken hard into the flour, and press the flour hard into the chicken. By doing this, you will end up with a thick, flaky coating. Place the coated chicken on a baking sheet. Repeat until all of the chicken is coated.


- Add a few pieces of chicken to the oil, making sure not to overcrowd (this can lead to chicken sticking together, the temperature dropping too low, or overflow of the bubbling oil, and ain't nobody wanna clean up that mess!) Cook for 6-8 minutes, when the chicken is golden brown. Place the cooked chicken on a baking rack or paper towels on a baking sheet. Repeat until all of the chicken is cooked.
- To serve, drizzle piece of chicken with honey, and serve with a side of hot sauce. Highly recommended sides include rosemary garlic frites and homemade pickles. Oh, and a bold beer to stand up to the big flavors of the chicken, such as a Double IPA or, if you're going spicy with your dippy sauce, a nice heavy Porter.
Et voila! Bon appetit!
 |
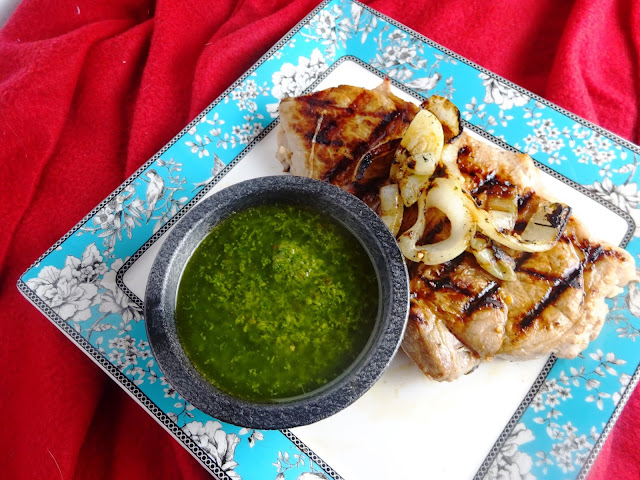
| Garnish with fresh parsley from your fire escape garden! |


Comments
Post a Comment